
This is a post about restoring an antique dining room table, which took me the better part of the summer and at which (spoiler alert) I am currently typing.
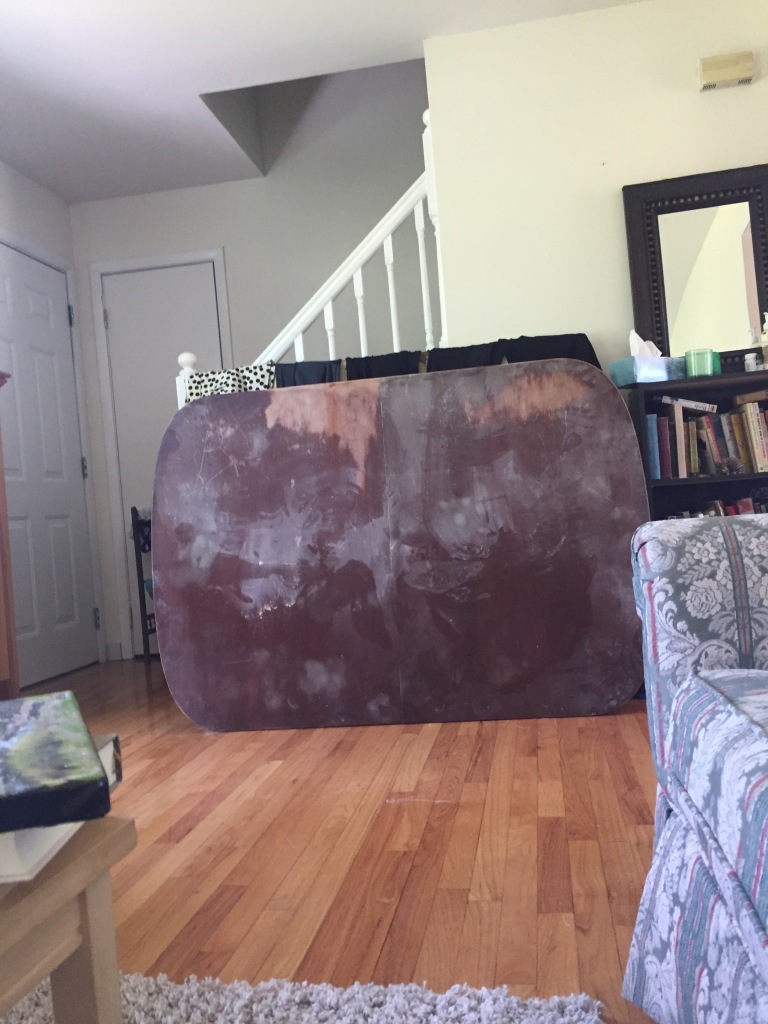
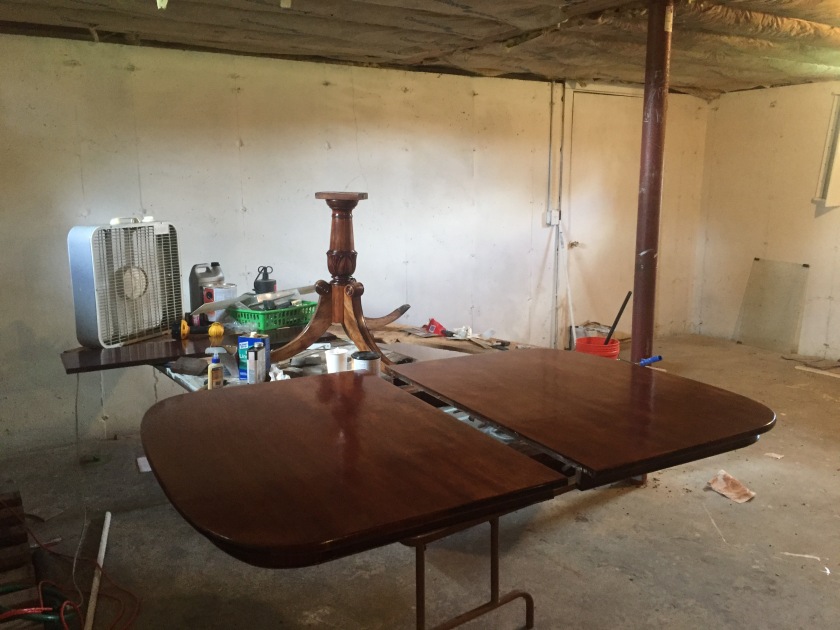
This table appeared in our house in the above sad-looking state a few years ago during an extended absence from our home. We got back to find it propped against the wall upstairs with few clues as to where it came from, though my dad recognized it from his childhood. After some sleuthing this summer I found out my uncle had left it here because they needed to make room for new furniture, but were unwilling to completely get rid of this old family heirloom.


As you can see from these photos, the table was in pretty bad shape. Lots of rings, stains, scratches, and gouges. 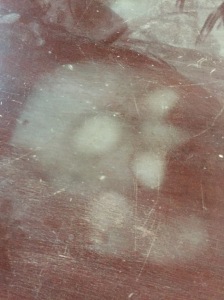
My cousin Phil is a woodworker and it was thanks to him that I felt like I could tackle this project since I’ve never done any serious restoration kind of work before.
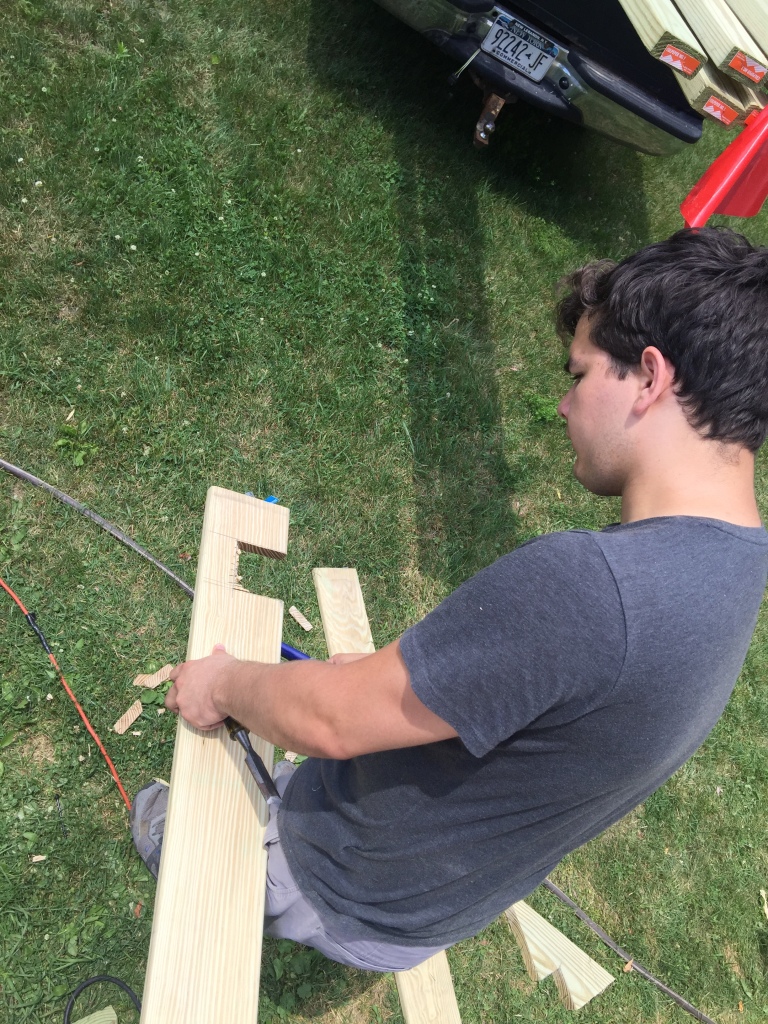
The first step was to sand, sand, sand. I started by hand with a pretty fine-grit sanding block, but it was taking FOREVER, so I borrowed a sander from my uncle and went to town. It still took forever, but was slightly faster. 
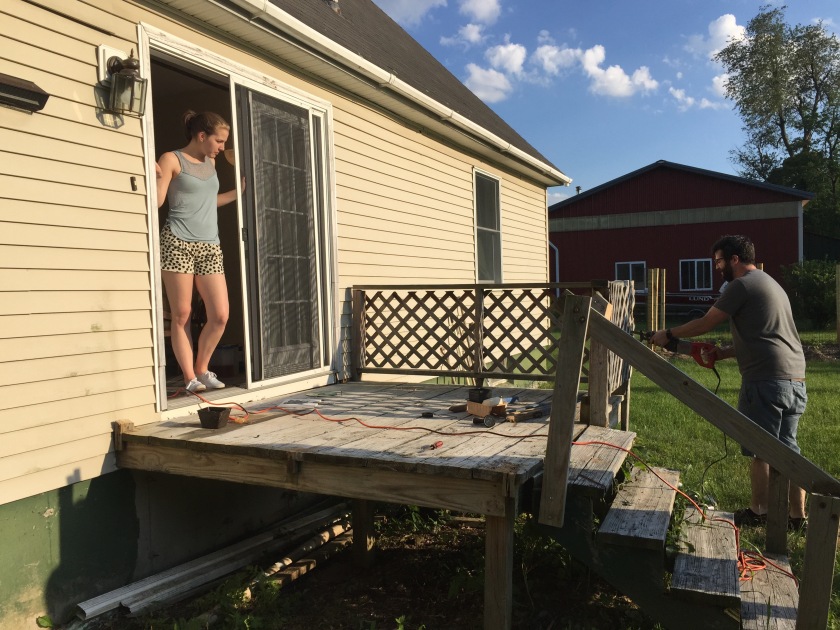
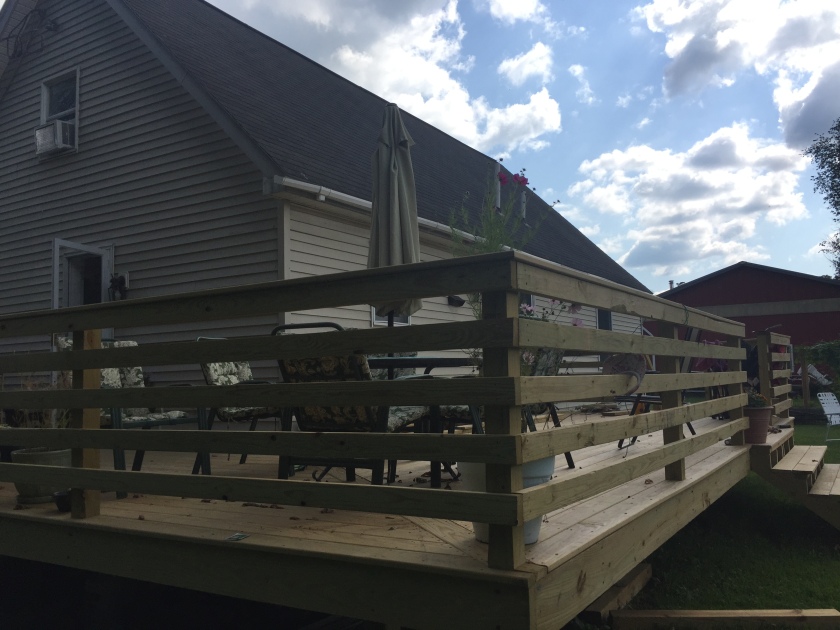
It was also filthy and after attempting it first in the basement, I quickly relocated outside to the unfinished deck because I was worried I was giving myself the wood-working version of Black Lung.

I went through a lot of these little guys
The table has a pretty thick mahogany veneer on it and despite reading lots of horror stories about how easy it is to bust through a veneer and ruin a project forever, that didn’t happen. I was careful and also increasingly pleased to see how beautiful the wood grain was underneath all the dirt, stains, and old varnish. I was also filthy.


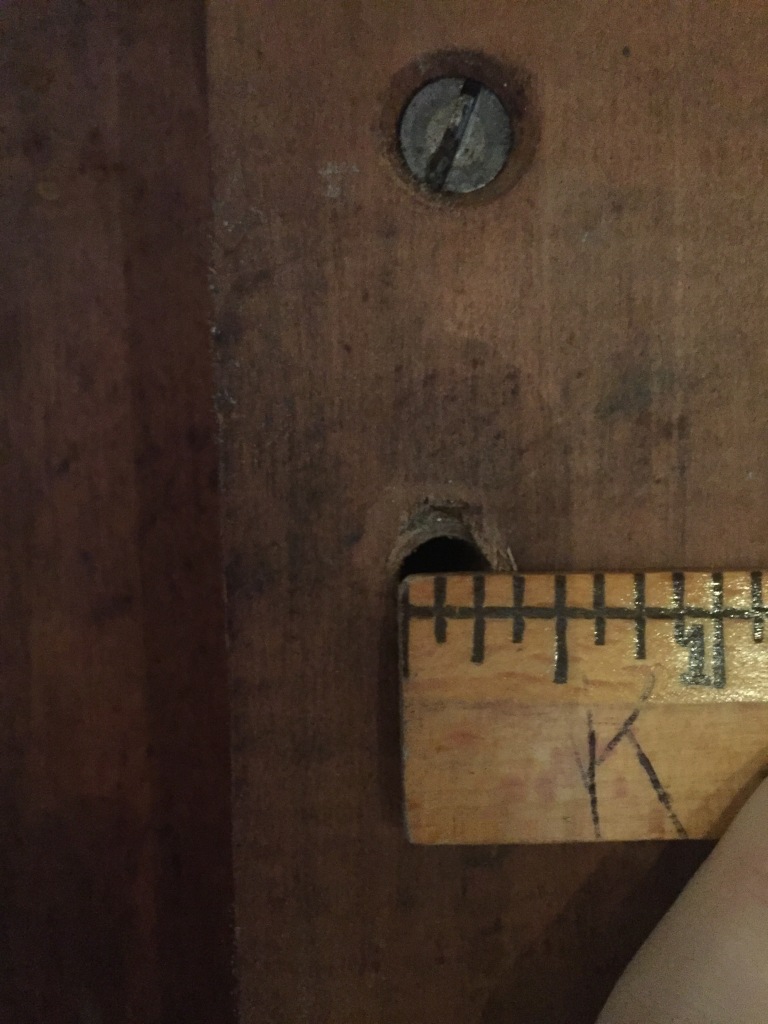
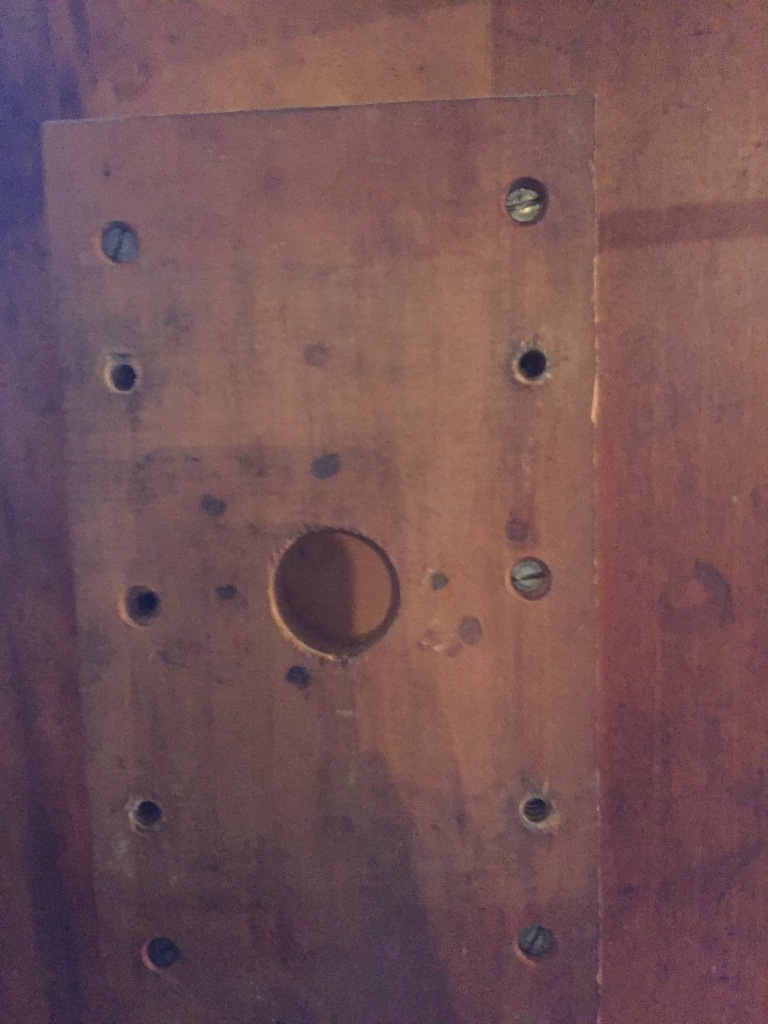
The legs posed a different problem, they were pretty unsteady and at some point in the past someone tried to stabilize the table by adding some extra parts. The original wooden screws/pegs were missing from the get-go, and it took a little bit of time and effort to figure out how to fix them up and attach them.

Phil, meanwhile, took the legs for me, disassembled them, sanded them, and gave them back. Reassembly was a bit difficult because a lot of the original screws were missing, and they were so old they weren’t much good to me. I went with some shiny new wood screws and the original brackets.
I also want to post more pictures of me with power tools so here you go:
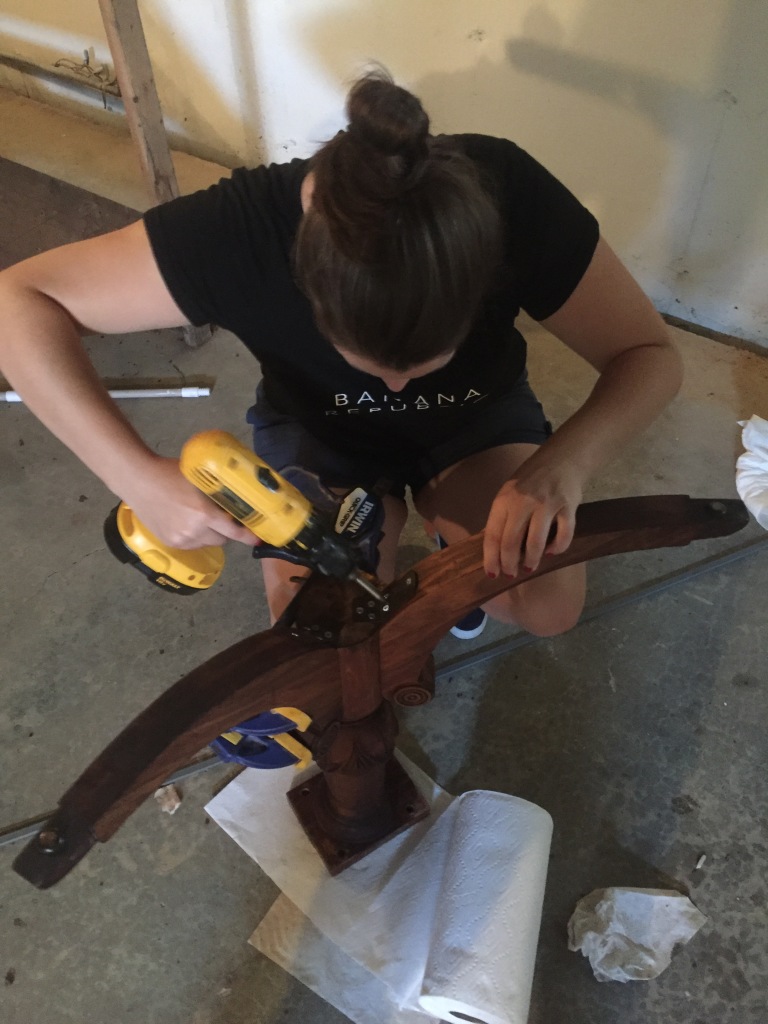
Once the legs were reassembled, I had to figure out how to attach them to the table. In the end, I used metal bolts and since no one will ever see that part of the table, it gets the job done. Plus, if we ever need to move it out of the dining room (a distinct possibility) it’ll be relatively easy to dismantle it.

And then it was time for the finishing process. I used Danish oil, linseed oil, and about seven or eight coats of polyurethane, lightly sanding between coats. There is a lot of conflicting information online and I tried to do everything as standard as possible. I think it ended up looking quite beautiful and suitably shiny.
And there we have it! My first refinishing project!
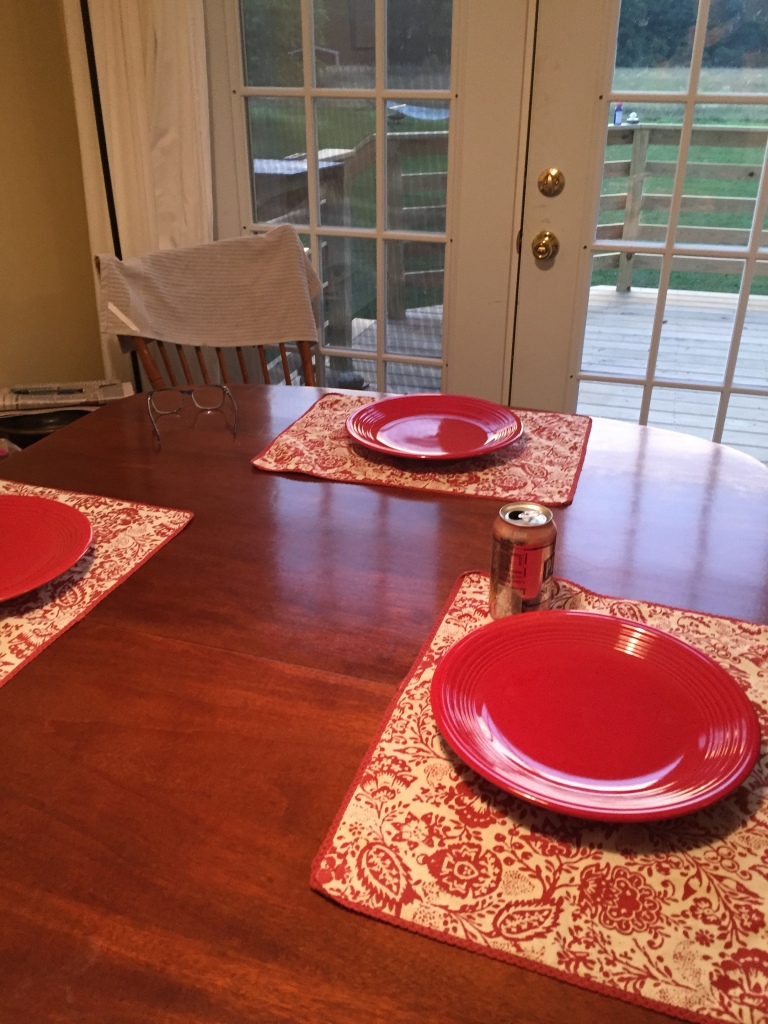
I made some mistakes during the process, but on the whole I am really pleased with and proud of how it turned out. I like having a few projects going and I learned lots of useful things from this project that I can carry on to other things. In fact, I already did because I have since restored a really cool corner desk!

Actually, now that a couple months have passed and we have been using the table for our everyday life, I’d like to put a couple more coats of poly on just to shine it up and make it a bit more durable, but on the whole I am really happy with the whole project.


 This is our favorite recipe, which is loosely based on one over at Epicurious, but is also different because it has evolved over time and also because of our laziness. Now, I don’t like things with sausage with few exceptions: one being my mom’s spaghetti sauce (HI MOM) and another being THIS RECIPE SO MAKE IT, OK?